

- Emergency Technicians Are Available IMMEDIETLY
- 24/7 Service
Garage Door Cable Repair
Garage door cables are essential components that ensure the smooth and safe operation of your garage door. Over time, these cables can wear out or break, leading to potential safety hazards and operational issues. Understanding how to repair or replace garage door cables can save you time and money while maintaining the safety of your home.
Understanding Garage Door Cables
What Type of Cables?
Garage door cables work in conjunction with the springs to lift and lower the door smoothly. There are two primary types of cables:
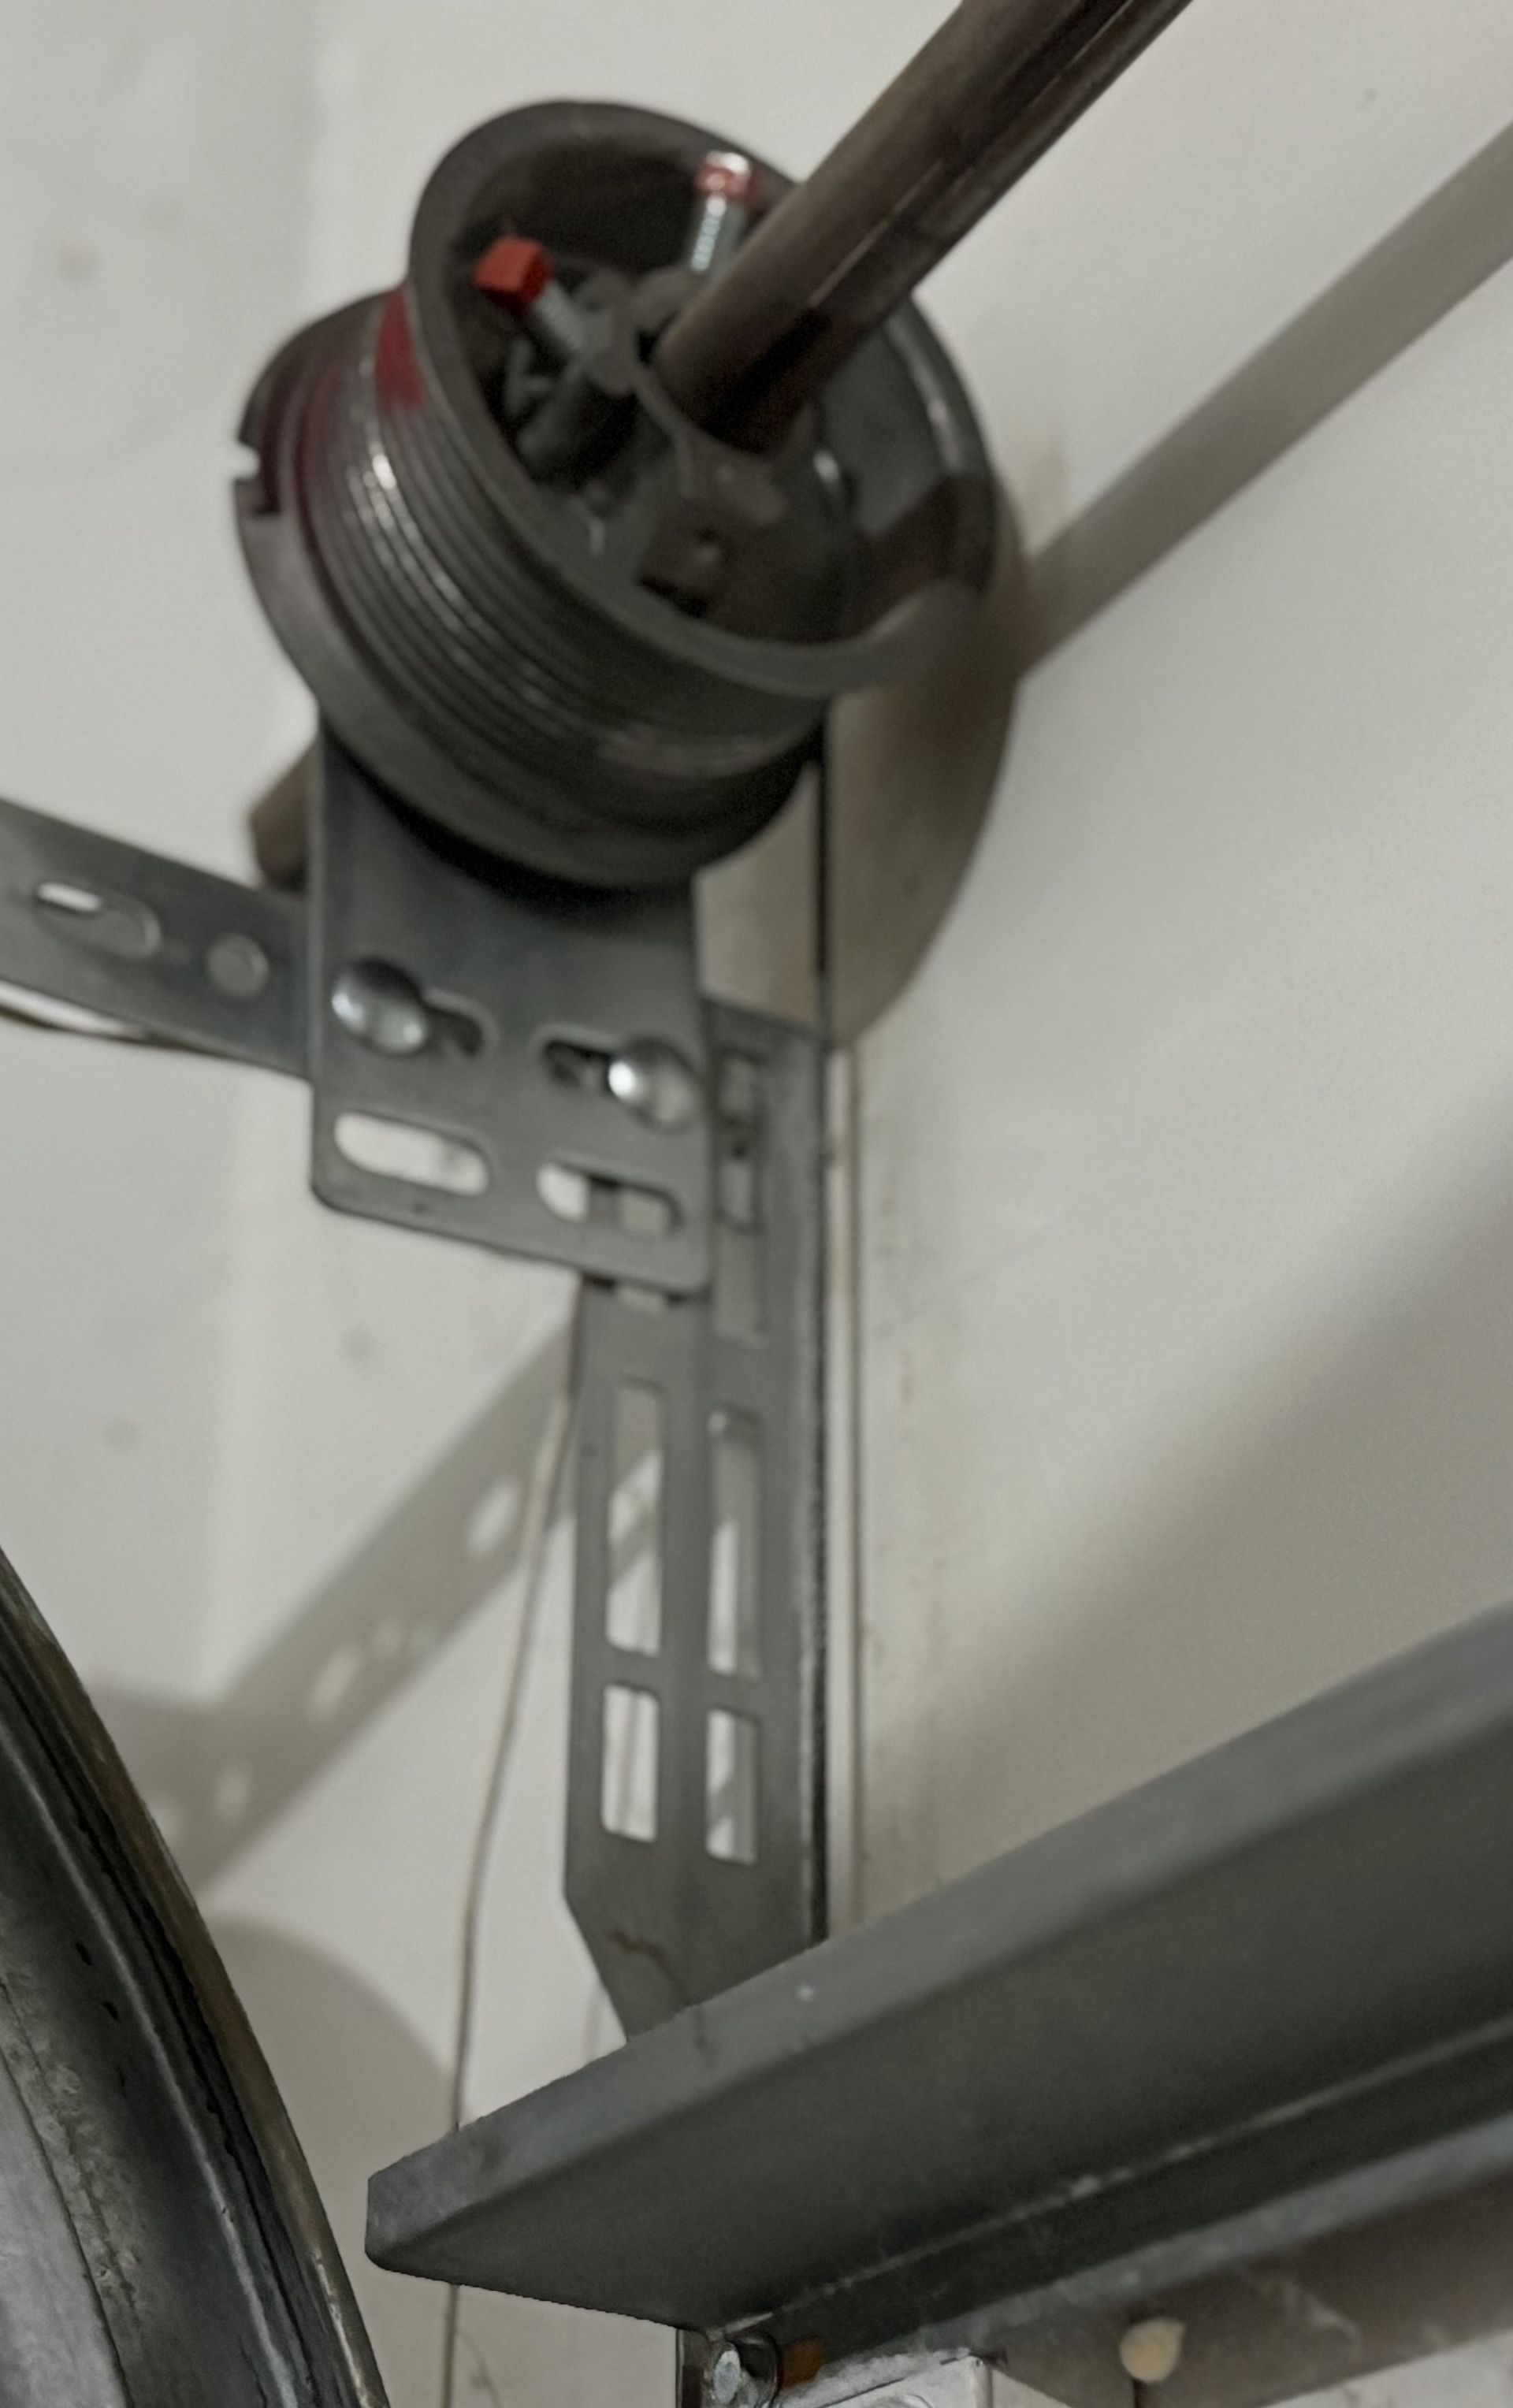
- Torsion Spring Cables: Located at the bottom corners of the door, these cables wind around drums as the torsion springs turn, facilitating the door's movement.
- Extension Spring Cables: Attached to the sides of the door, these cables stretch and contract with the extension springs to allow door movement.
Understanding the type of cable your garage door uses is crucial for effective repair or replacement.
Safety Precautions Before Starting
Repairing garage door cables can be dangerous due to the high tension in the springs. Follow these safety measures:
- Disconnect Power: Unplug the garage door opener to prevent accidental activation.
- Secure the Door: Use clamps or locking pliers to keep the door in place.
- Wear Protective Gear: Gloves and safety glasses can protect against injuries.
- Use Proper Tools: Ensure you have the correct tools for the job to avoid accidents.
Always prioritize safety to prevent injuries during the repair process.
Tools Required for Cable Repair
Gather the following tools before starting:
- Winding bars or vice grips
- Pliers or channel locks
- Hammer
- Screwdrivers (flat-head and Phillips)
- Wrench set
- Tape measure
- Replacement cables suitable for your door type
Having the right tools ensures a smoother and safer repair process.
Tools Required for Cable Repair
1. Disconnect the Garage Door Opener
- Unplug the opener or disconnect the power source.
- Pull the emergency release cord to disengage the door from the opener.
2. Release Tension from the Springs
- Carefully use winding bars to release tension from the springs.
- Proceed slowly to avoid sudden releases of energy.
3. Remove the Old Cable
- Detach the cable from the bottom bracket.
- Unwind it from the drum or pulley system.
4. Install the New Cable
- Attach the new cable to the bottom bracket.
- Thread it through the pulleys or around the drum, ensuring proper alignment.
5. Reapply Tension to the Springs
- Carefully wind the springs back to the appropriate tension using winding bars.
6. Test the Door
- Reconnect the garage door opener.
- Operate the door several times to ensure smooth movement.
For a detailed visual guide, you can refer to this step-by-step tutorial
When to Call a Professional
While DIY repairs can be cost-effective, certain situations warrant professional assistance:
- Lack of Experience: If you're unfamiliar with garage door mechanics.
- Complex Issues: Problems beyond a simple cable replacement.
- Safety Concerns: If you're uncomfortable handling high-tension components.
Professionals have the expertise to handle repairs safely and efficiently.
Preventive Maintenance Tips
To extend the life of your garage door cables:
- Regular Inspections: Check cables monthly for signs of wear.
- Lubricate Moving Parts: Apply appropriate lubricants to reduce friction.
- Balance the Door: Ensure the door remains balanced to prevent undue stress on cables.
Regular maintenance can prevent costly repairs and ensure the longevity of your garage door system.
Repairing garage door cables requires careful attention to detail and adherence to safety protocols. By following this guide, you can address common cable issues and maintain the smooth operation of your garage door. However, if you're uncertain or encounter complex problems